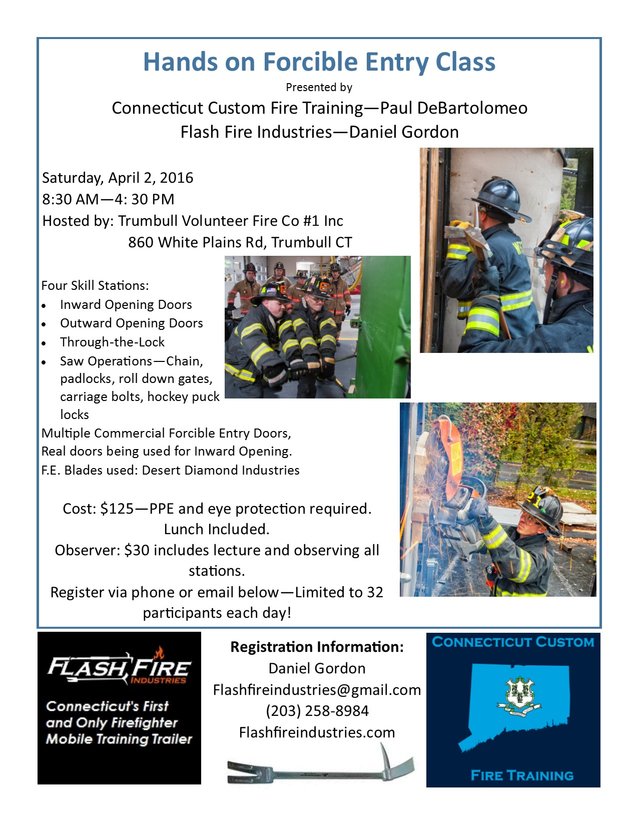
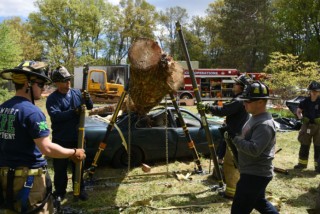
Basic & Advanced Lifting & Stabilization Classes Coming up in May:
Register On Our Website Here
Saturday May 5th, 2018 Basic Lifting & Stabilization: Class covers the basics of lifting & stabilization using an array of equipment commonly used by first responders including high & low pressure lift bags, struts, hydraulic jacks, griphoists, levers, Res-q-Jacks etc.
Sunday May 6th, 2018 Advanced Lifting & Stabilization: Students will operate as a member of a rescue team and work to free confirmed pins trapped in realistic, challenging scenarios.
Both classes offered individually or taken together with a 2-day discount.
Cost per student: $150.00 per day, $250.00 special for those registering for both days.
Classes to be held in Enfield, CT
See attached flyer or contact This email address is being protected from spambots. You need JavaScript enabled to view it.
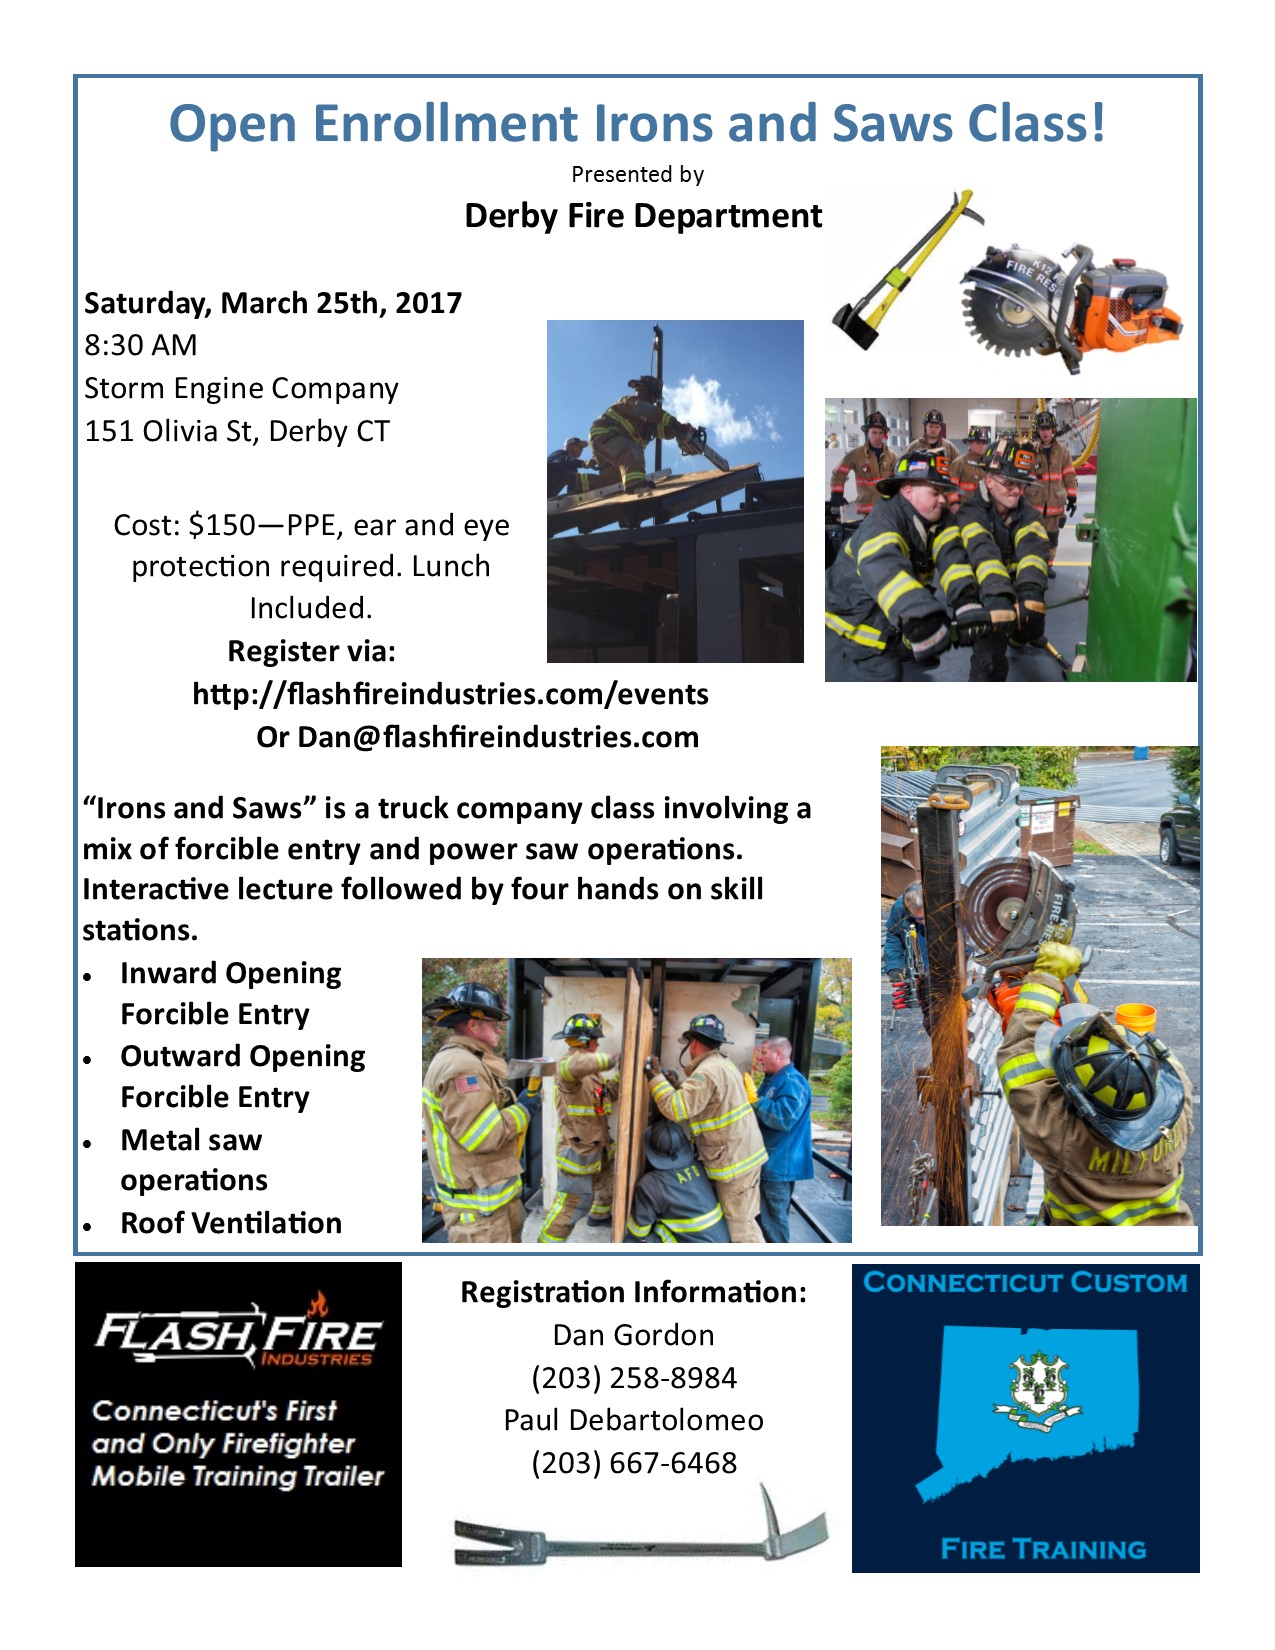
Hands On Training in Derby Connecticut March 25, 2017 presented by CT Custom Fire Training & Flashfire Industries.
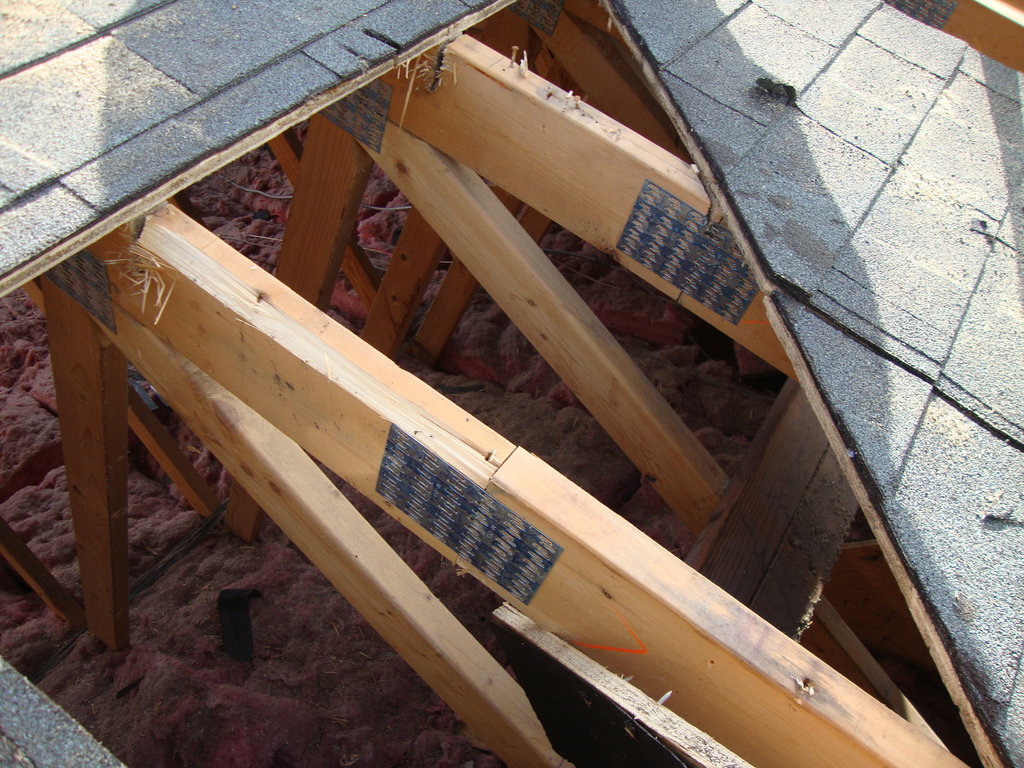
Inward Opening Doors, Outward Opening Doors, Peaked Roof Ventilation, & Metal Cutting Ops.
CT Custom Fire Training presents the perfect winter training opportunity for fire departments.
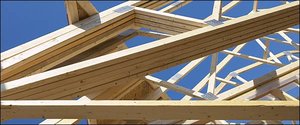
"Building Construction: From the task and tactic viewpoint"
This program can be delivered as a 2 hour night drill, a 4 hour partial day, or as a full 8 hour day drill. This is not your typical building construction class! The goal of the program is to describe and discuss how certain construction features effect the tasks that firefighters perform, and the tactics used by company officers.
-The 2 hour class covers common construction styles and how their features can help or hinder our operations.
-The 4 hour program covers everything in the 2 hour class, plus lightweight construction concerns and modern, energy efficient construction.
-The 8 hour program includes everything from the 4 hour class, plus a discussion on construction materials, NFPA construction classifications, and other construction concerns.
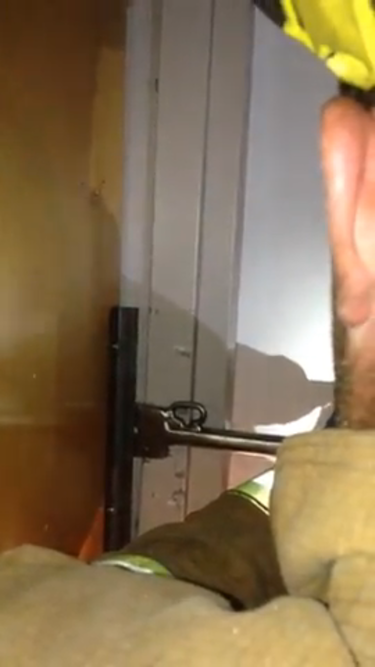
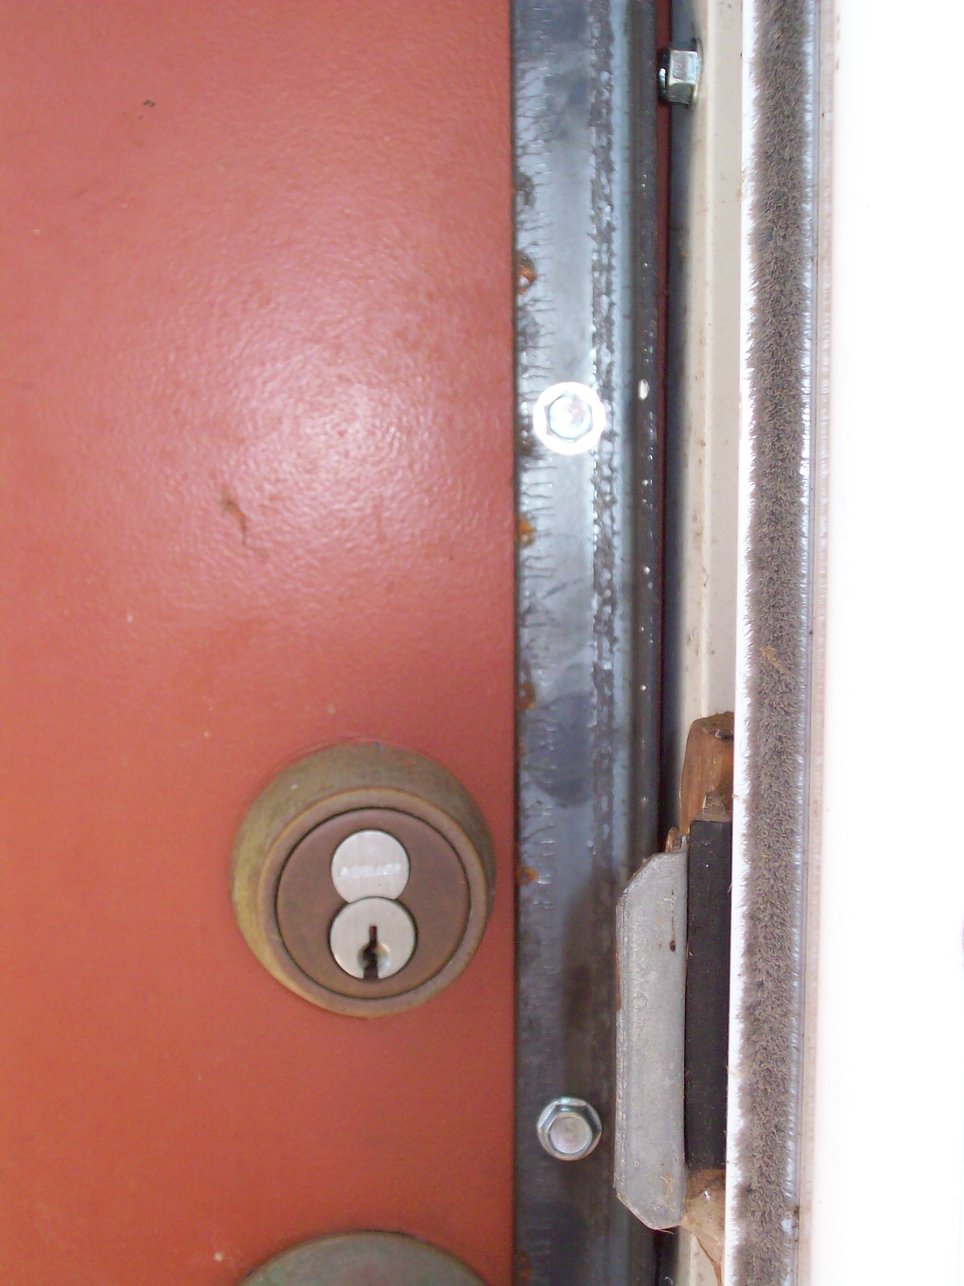
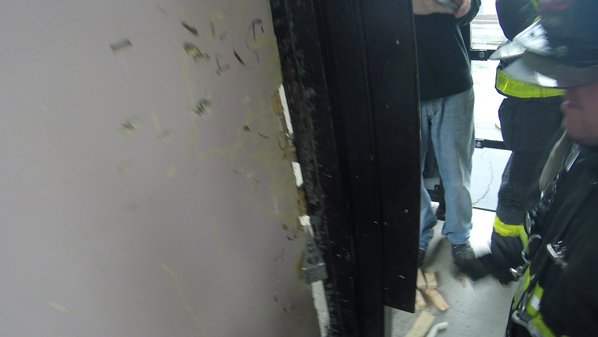
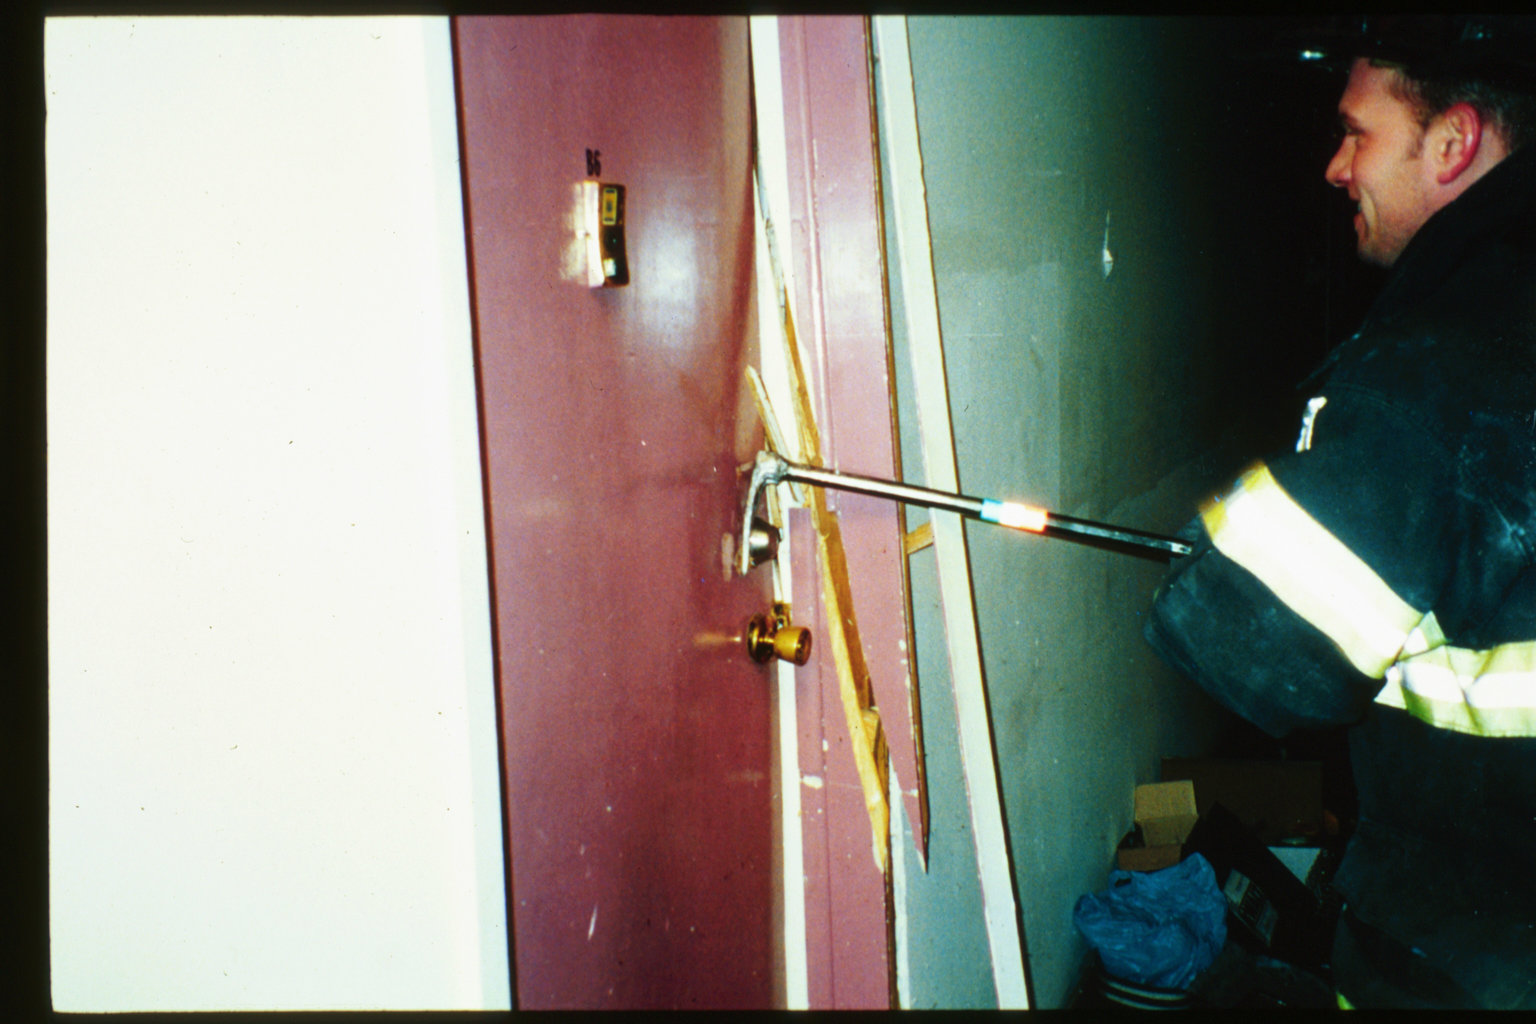
The presence of angle iron on inward swinging residential doors is a common security feature in the urban & suburban setting that can present a formidable entry challenge for the untrained firefighter. Typical angle iron used in this application is a 1 x 1 L-shaped steel bracket affixed to the door on the side with the locking mechanisms. The angle iron & the door are drilled out in several locations & the angle iron is through-bolted to the door with carriage bolts. The angle iron can run the entire length of the door jamb but typically runs 2-3 feet in length in order to shield the space between the door and jamb in the area of the locks, thus preventing any prying or manipulating of the locks (see attached photo) In terms of forcible entry from a firefighters perspective angle iron can prevent us from performing both conventional (Irons) or mechanical (hydra-ram) forcible entry in the traditional manner. We are unable to gap the door with the adz in the traditional manner because the space between the door and the jamb is shielded by the angle iron. This also negates the use of the hydra-ram as we are unable to get the jaws of the ram properly set on the rabbited jamb. A common mistake firefighters often make is attempting to pry or shear the angle iron off the door in order to gain access to the area between the door and the jamb. The proper technique to utilize when forcing a door with angle iron is to use it to your advantage during the entry process. Doors with angle iron can oftentimes be forced more easily by incorporating the power of physics into our conventional entry process. Instead of wasting time trying to remove the angle iron, work with it & harness its power to increase our force during entry. Place your forks on the jamb 6 inches above or below the lock and drive them in behind the angle iron until you hit the face of the door. When the forks reach the door push the shaft of the tool towards the door bending the angle iron away from the jamb. With the angle iron now bent you will have created space between the door & the jamb to drive your forks in to set depth. Once the tool is set you can push the shaft towards the door in the traditional manner. The angle iron that you previously bent will now enhance your force as it creates a fulcrum for the forks to pivot off of.
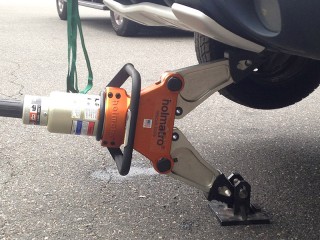
For many years there has been longstanding controversy regarding the use of the hydraulic spreader vertically as a jack to lift a vehicle in order to free a victim trapped beneath. Much of the negativity stems from the now infamous YouTube video where a vehicle shifts during lift and is dropped onto a victim beneath a car. I'm not going to dissect that video and point out the myriad of things not done to prevent this from occurring. What I am going to say is that when done correctly in conjunction with proper stabilization & load capture this can be a very quick & effective way to lift a vehicle. Many of the major H.R.T. manufacturers will go on the record stating they do not endorse this technique because the tool "was not designed to be used that way" My contention to them is that it is no different than jacking the dash during a modified dash lift. The tool is used in the same vertical plane during both maneuvers.
The main issue with using a hydraulic spreader to lift is limited contact surface area. The widest tips on the market are just over 2 inches wide. This limits contact to the load, as well as the ground to a very small area. In fact, as the load begins to raise and the tool opens up the contact surface begins to lessen making things less stabil. In analyzing this we sought to devise a way to increase both contact surface area & lateral support in order to improve overall stability when conducting a lift in this manner. After much testing & great deal of trial and error we have developed a product to use in conjunction with your H.R.T. and proper cribbing to perform this lift with a great deal of stability.
Behold the TL-9 stabilization device. The TL-9 is made from half inch solid steel, with a 6 x 6 base plate, and 4 1/2 inch gusseted towers spaced approximately 2 inches apart. The solid base plate increases the contact surface area with the ground while the towers provide lateral support for the tool. In addition, there is a solid steel traveling limit pin between the towers that prevents the spreaders from opening beyond 70%. At 70%, lift heights have ranged between 19-30 inches depending on the H.R.T. unit. When the traveling pin reaches the tops of the towers it locks the lower tip of the spreader into a groove at the front of the plate which works to increase overall stability.
The TL-9 is in the production process and should be available by mid to late September. There will be 3 stock models produced to accommodate the vast majority of commercially available spreaders. Each stock model will have slight variances in the width between the towers to account for different spreader tip widths. Each model will allow for only a 1/8 inch of clearance when the tips are inserted to achieve maximum lateral stabilization. Custom models can be produced to fit a specific spreader with bulk orders in excess of 10 units where tolerances can be set to within a sixteenth of an inch.
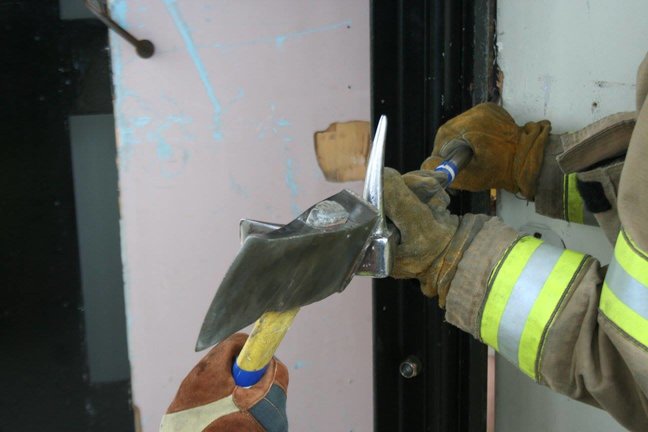
Conventional forcible entry for inward opening doors requires firefighters to apply specific techniques using standard tools ( 8lb. axe & Halligan) to compromise the weak link associated with an entry/egress point. The weak link may vary based on construction features of the door & door frame, as well as the number and types of locks affixed to the door. Once the weak link has been identified, firefighters must utilize standard techniques to apply the requisite amount of force and leverage required to gain entry. Much of the force required to initially set the tool prior to forcing the door is generated by the member striking the Halligan. On well-fortified doors, especially those of solid wood construction, a significant amount of force will be needed to adequately set the Halligan securely between the door & the frame. Using the proper striking tool in the form of an 8lb. "Force Axe" is paramount. Of equal importance, in order to be effective & efficient, is where you strike the Halligan. In order to maximize each hit the striking member must squarely strike the "sweet spot" with each blow delivered. The "sweet spot" on the Halligan is the small square section at the base of the adz. By striking that squarely with each hit you deliver force directly down the shaft of the tool to the forks which allows for a more effective & efficient means of setting the tool. Striking the Halligan out on the adz causes much of your force to be dissipated off the end of the tool requiring you to deliver more blows to set the forks to depth. In order to hit the sweet spot each & every time slow down & shorten your swing. Align the tools so the axe is perpendicular to the Halligan as seen in the photo. Conventional forcible entry is a methodical process relying on sound technique rather than brute force. So take your time, work smarter not harder, and always swing for the sweet spot.
Until next time...be safe
Having a good working knowledge regarding some of the key structural components in modern day vehicles can go a long way to improving your extrication skills. One such component you should be aware of and use to your advantage is the center dash bar found in virtually all automobiles produced after the year 2000. The center dash bar, (aka) central dash support, is a key component of the dash support structure, which runs accross the dash area of the car from "A post" to "A post". Understanding what the "Dash Bar" is, and most importantly where it is will significantly further your capabilities in terms of displacing the dash of a car that is impinged upon your victims lower extremities. The central dash displacement is a technique used to hyper-extend the dash of an automobile by pushing off the dash bar with your hydraulic spreader or ram. By placing the base of your ram, or the lower arm of your spreader on the transmission hump or floor board, and the upper portion of the unit on the dash bar you can raise the dash significantly without making any relief cuts. Finding the dash bar can be tricky at first as it is hidden by the standard components of the dash board (radio, temperature controls, vents, etc.) Once these components are removed, or destroyed by the hydraulic tools the dash bar will be visible, and displacement can commence. You will be amazed by the amount of space you create using this technique.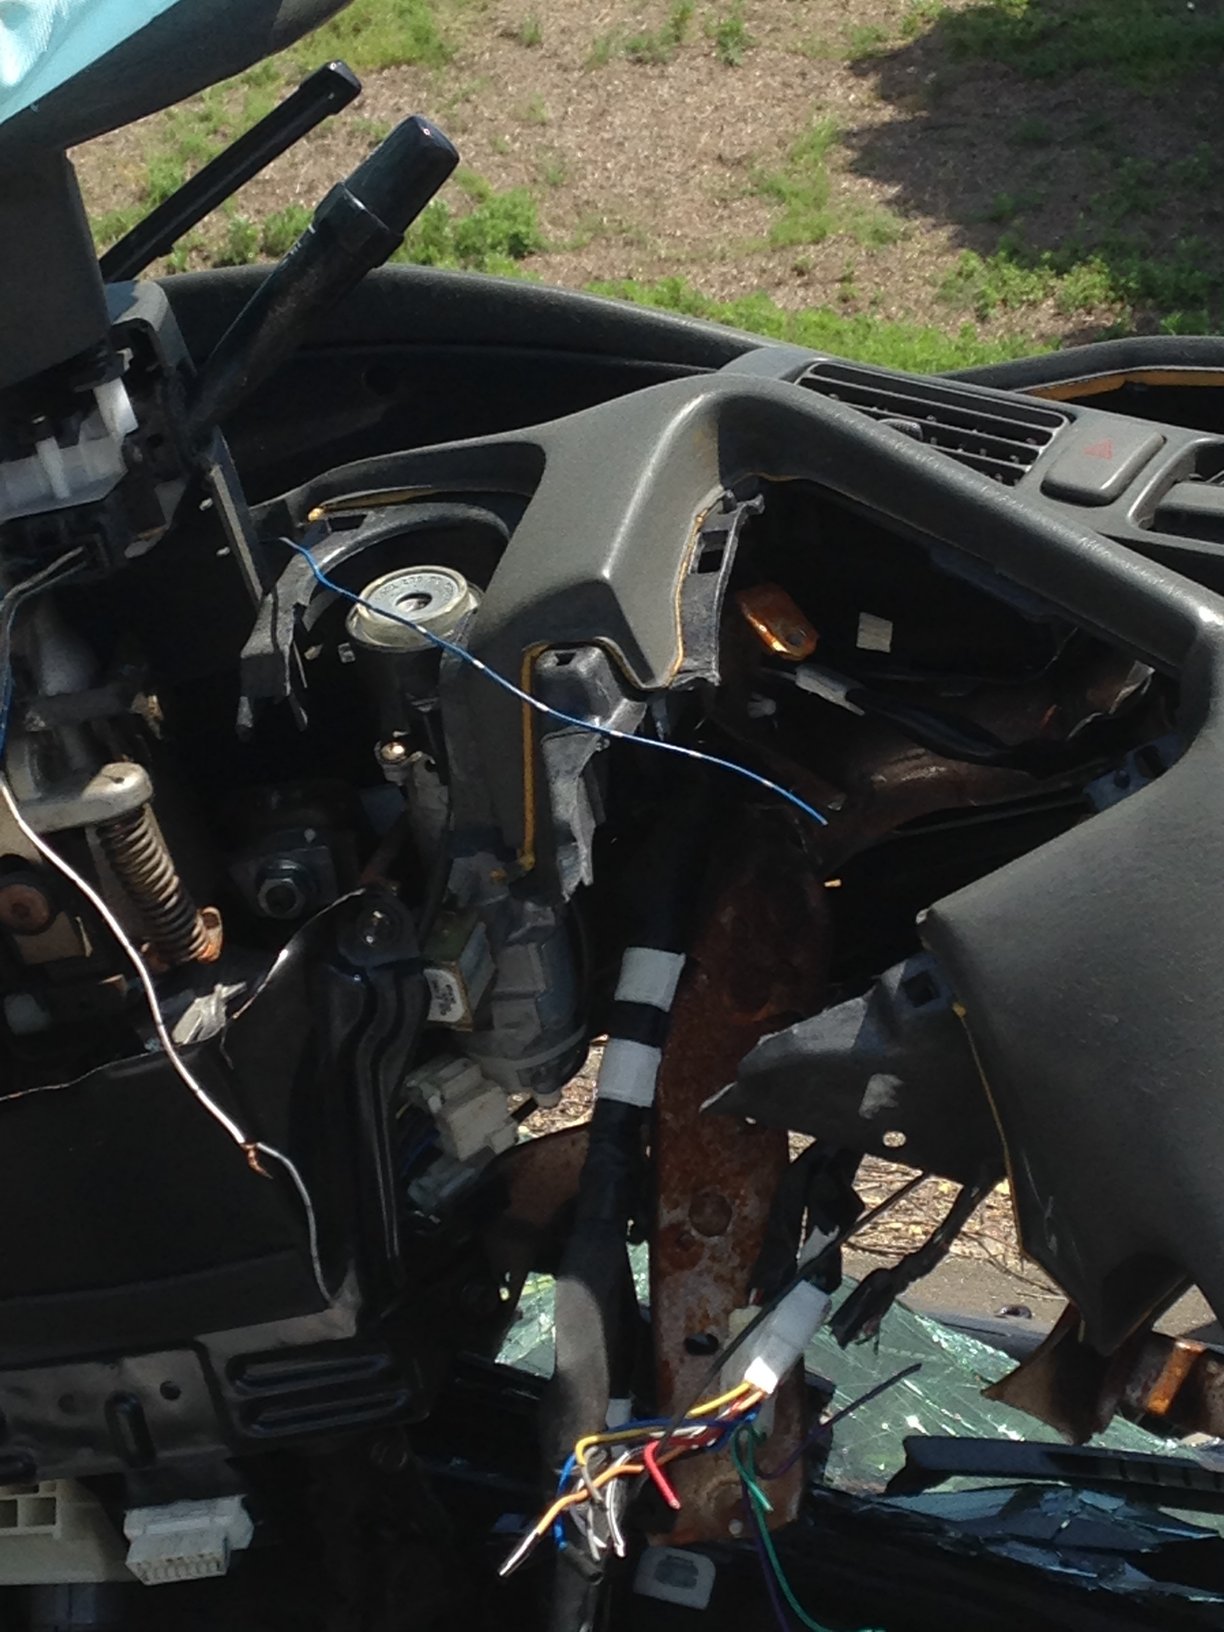
The high pressure airbag pictured below experienced a blow out while under pressure, & under load. Airbag failures are extremely rare. In fact, in more than 20 years in the fire service, today was the first time I ever experienced one. Airbags are susceptible to other types of failures as well. They can be easily punctured or torn by jagged or sharp metal such as screws or bolts typically found under vehicles. They will burn through when exposed to heat in excess of 220 degrees. In order to prevent these types of failures we should be protecting our airbags by placing a wood or neoprene pad on top of the bag, in between the bag & the load. The blow out experienced by the bag pictured here was a result of age. Older bags, such as this one, are subject to dry rotting when they are not routinely exercised. Airbags have a recommended shelf life of 10-12 years. Over time the butyl rubber begins to degrade, becomes less pliable, and begins to dry rot. To avoid this situation, exercise your bags regularly under load, keep them clean & dry, and insure that they have not exceeded their service life.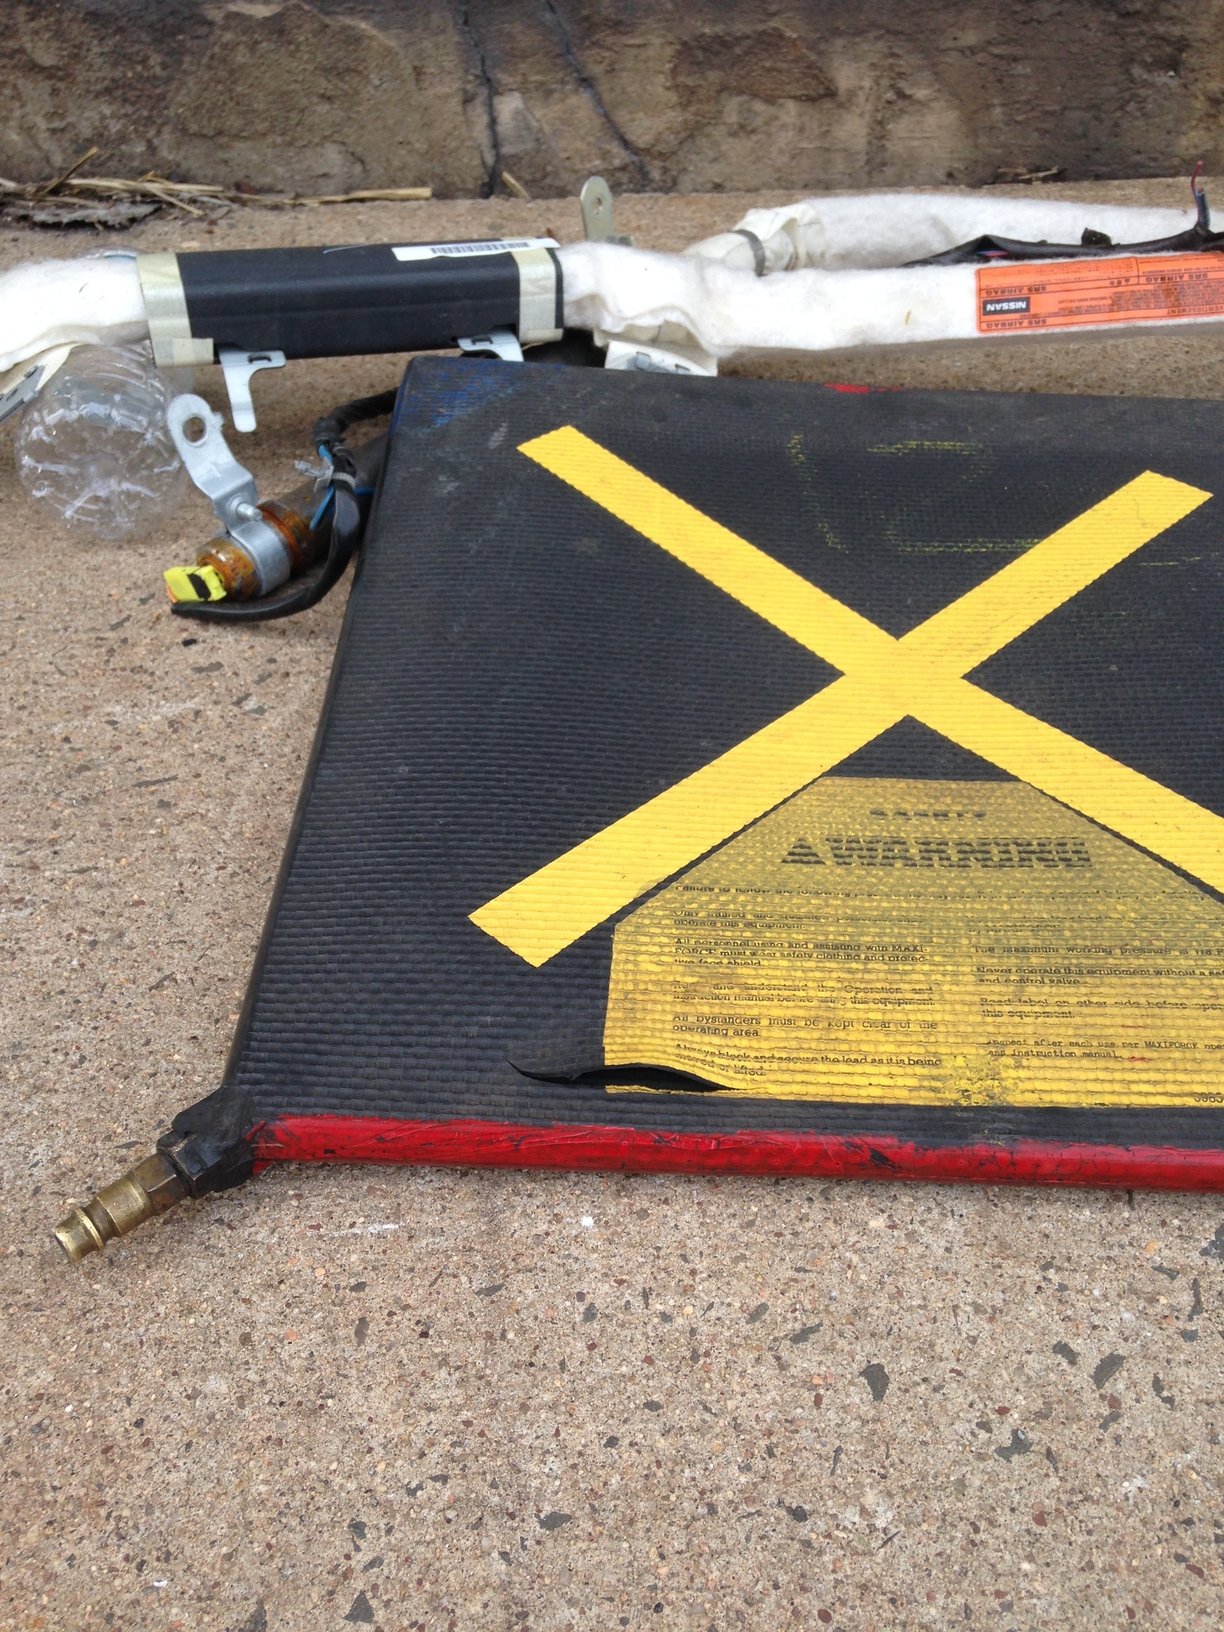
We at CCFT have been experimenting with aluminum wedges during our forcible entry classes. Although I'm not much of a trinkit guy I think the wedges are a wortwhile addition to a firefighters personal tools. The aluminum wedge allows you to maintain your purchase while forcing a door which is important, especially when operating alone. Another bonus of the aluminum wedge is the added durability which allows you to drive it into the door, expanding your gap, and creating added space for the adz end. If you are interested in purchasing an aluminum we have them & will gladly ship them to you.
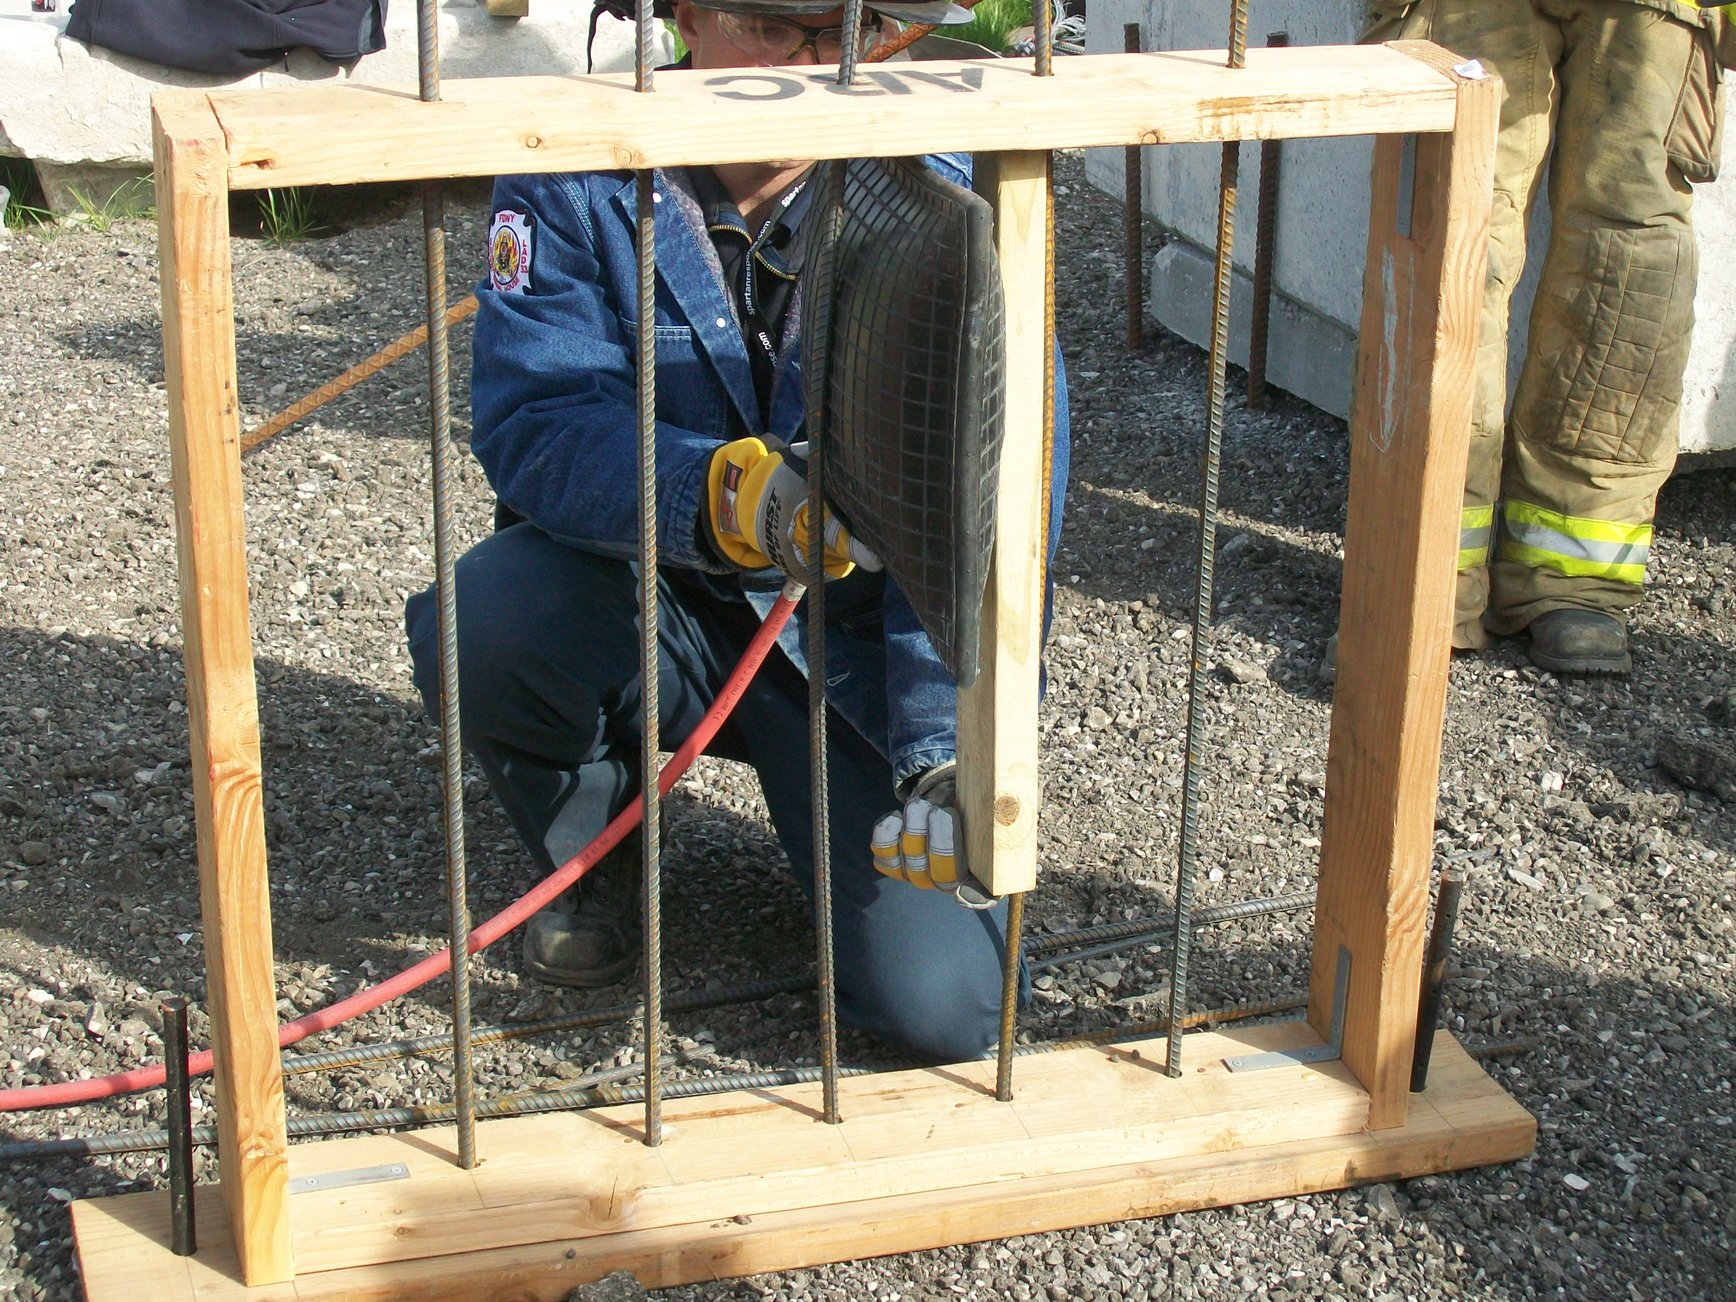
An emergency response more common than some might think is the run for a person or animal stuck between iron bars. Typically it involves an unknowing child or an overserved adult who has lodged their head or neck between the bars of a wrought iron fence or gate. Our options for removal are many, but our main concern should be focused on the least invasive means possible especially when dealing with children. A simple, and minimally invasive technique is to use the high pressure airbags to perform a horizontal displacement. The airbags are quick & quiet, and don't create any sparks or vibrations. Simply place the appropriately sized bag with any necessary cribbing above or below the patients head and inflate the bag to displace the bars.
The baseball swing is an excellent forcible entry technique for wood doors set in wood frames, common to most private dwellings. By swinging the halligan like a baseball bat and driving the pike into the jamp you essentially split the frame. Splitting the frame will compromise the keepers on the frame which the bolts of the locks are set. Once the point is set firmly into the frame pressure can be applied to the tool and the door to complete your entry. A great single firefighter technique when faced with a wood door set in a wooden frame.
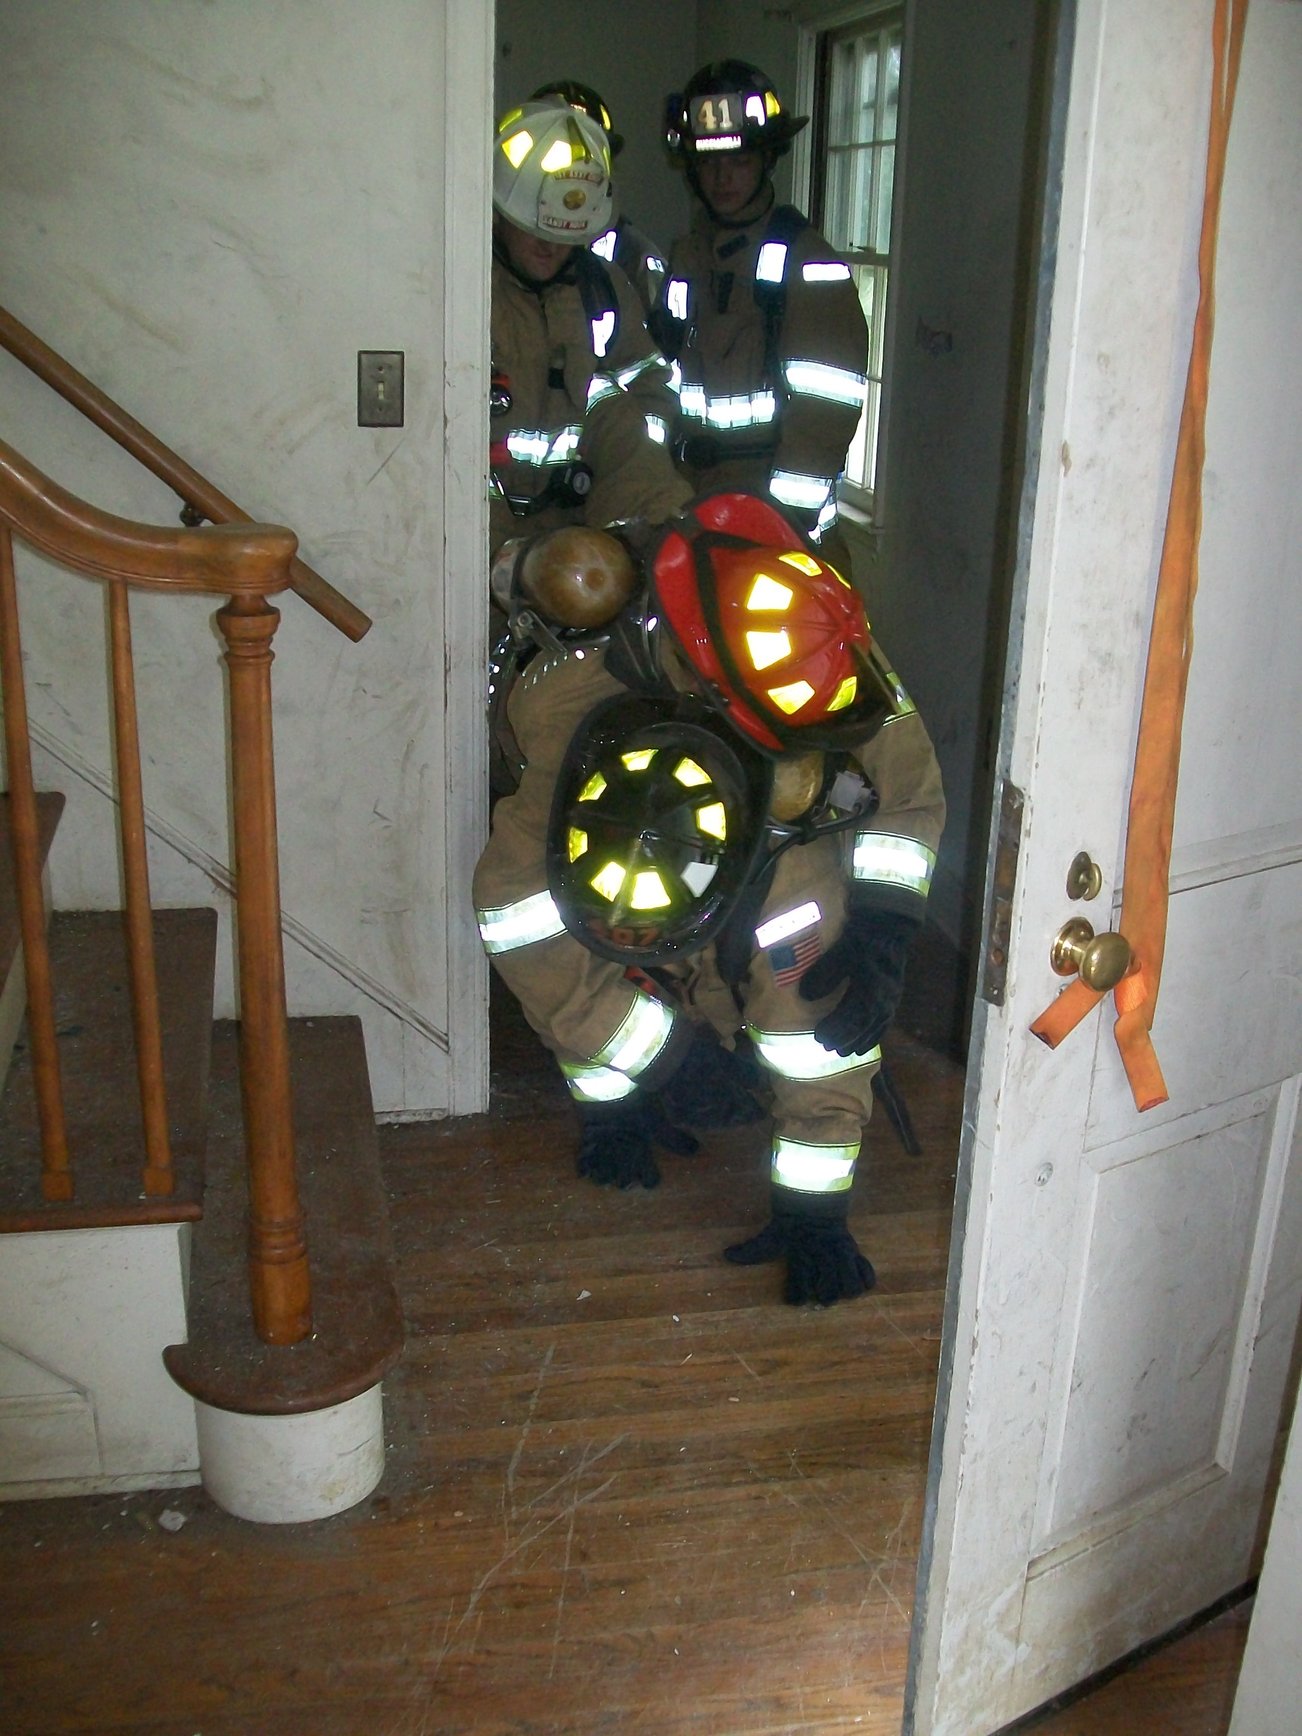 The Nutmeg Carry is an alernative technique to remove a downed firefighter from a below grade area such as a basement or cellar. The traditional 2 firefighter removal tactic is good, but it exposes the upright firefighters to high heat conditions, and is extremaly time consuming due to the numerous resets. The Nutmeg Carry places the downed member on the rescuers back to be removed up from the below grade area. Like any new technique it requires some practice and may need to be tweaked to fit your department needs but when done correctly it will speed up your removal efforts.
The importance of proper positioning and clear, concise communications between the Irons firefighter and the Canman cannot be overstressed. The Irons firefighter should position themselves between the tool and the door and keep their eyes focused on the working end of the tool. The Irons firefighter manipulates the Halligan into posistion and calls for hits as needed. The Can firefighter needs to position themselves so they can deliver hits perpendicular to the "Sweet Spot" at the base of the Adz. Hits are delivered on the command "HIT" and should consist of compact yet powerful blows.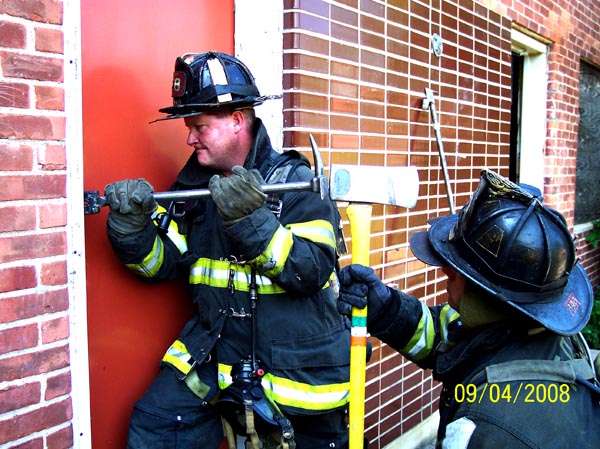
We at CT Custom Fire Training look forward to delivering cutting edge, customized training to suit your departments needs. We will continue to update our site with valuable information pertaining to firefighting and rescue operations. We will also be listing upcoming classes throughout te area so please keep an eye out for updated information. Thank you for taking the time to visit our site, and Stay Safe.


 a
a m
m